Here is a quick breakdown of what is happening "under the hood" for those interested in the technical side of my solution.
Why not just use standard video compression?
My first instinct was to use FFmpeg. I managed to shrink the 37 MB video down to just a few hundred KB, but the quality was terrible. The high compression created blocky artifacts that lacked the texture PoseNet needs to work correctly and also the block edges were hard to remove by learned Enhancer. That is why I pivoted to building a custom neural reconstruction system.
The Generator Architecture
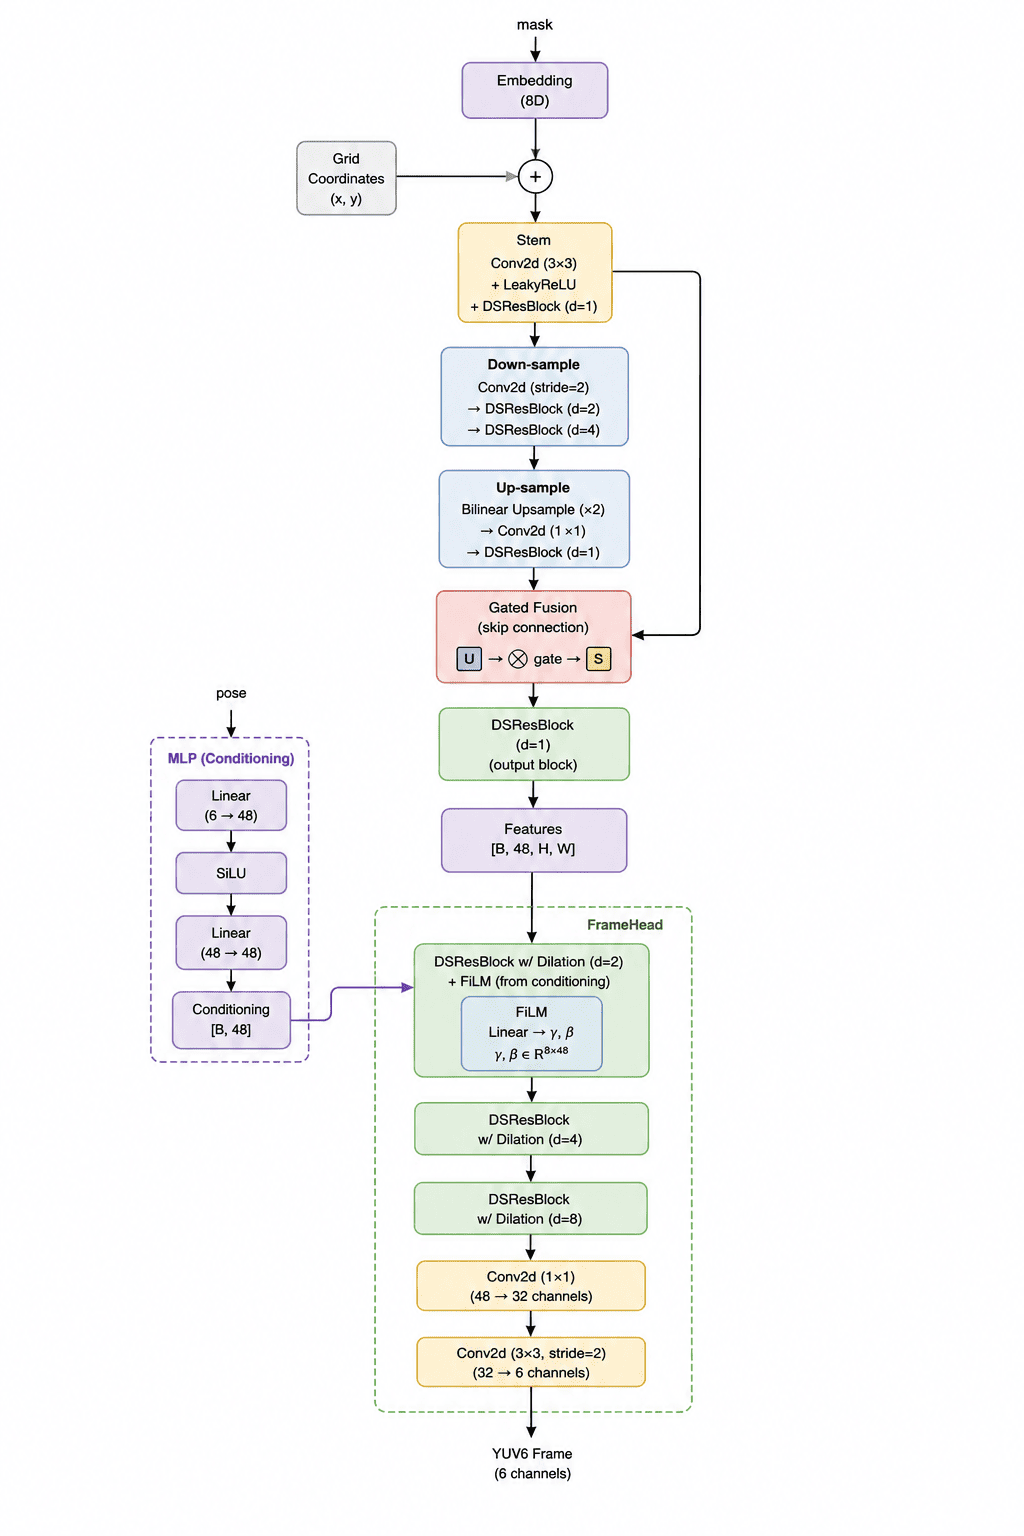
I designed a Generator network with roughly 110,000 parameters. It is quite small because the model size itself counts towards the final score. It consists of three main parts:
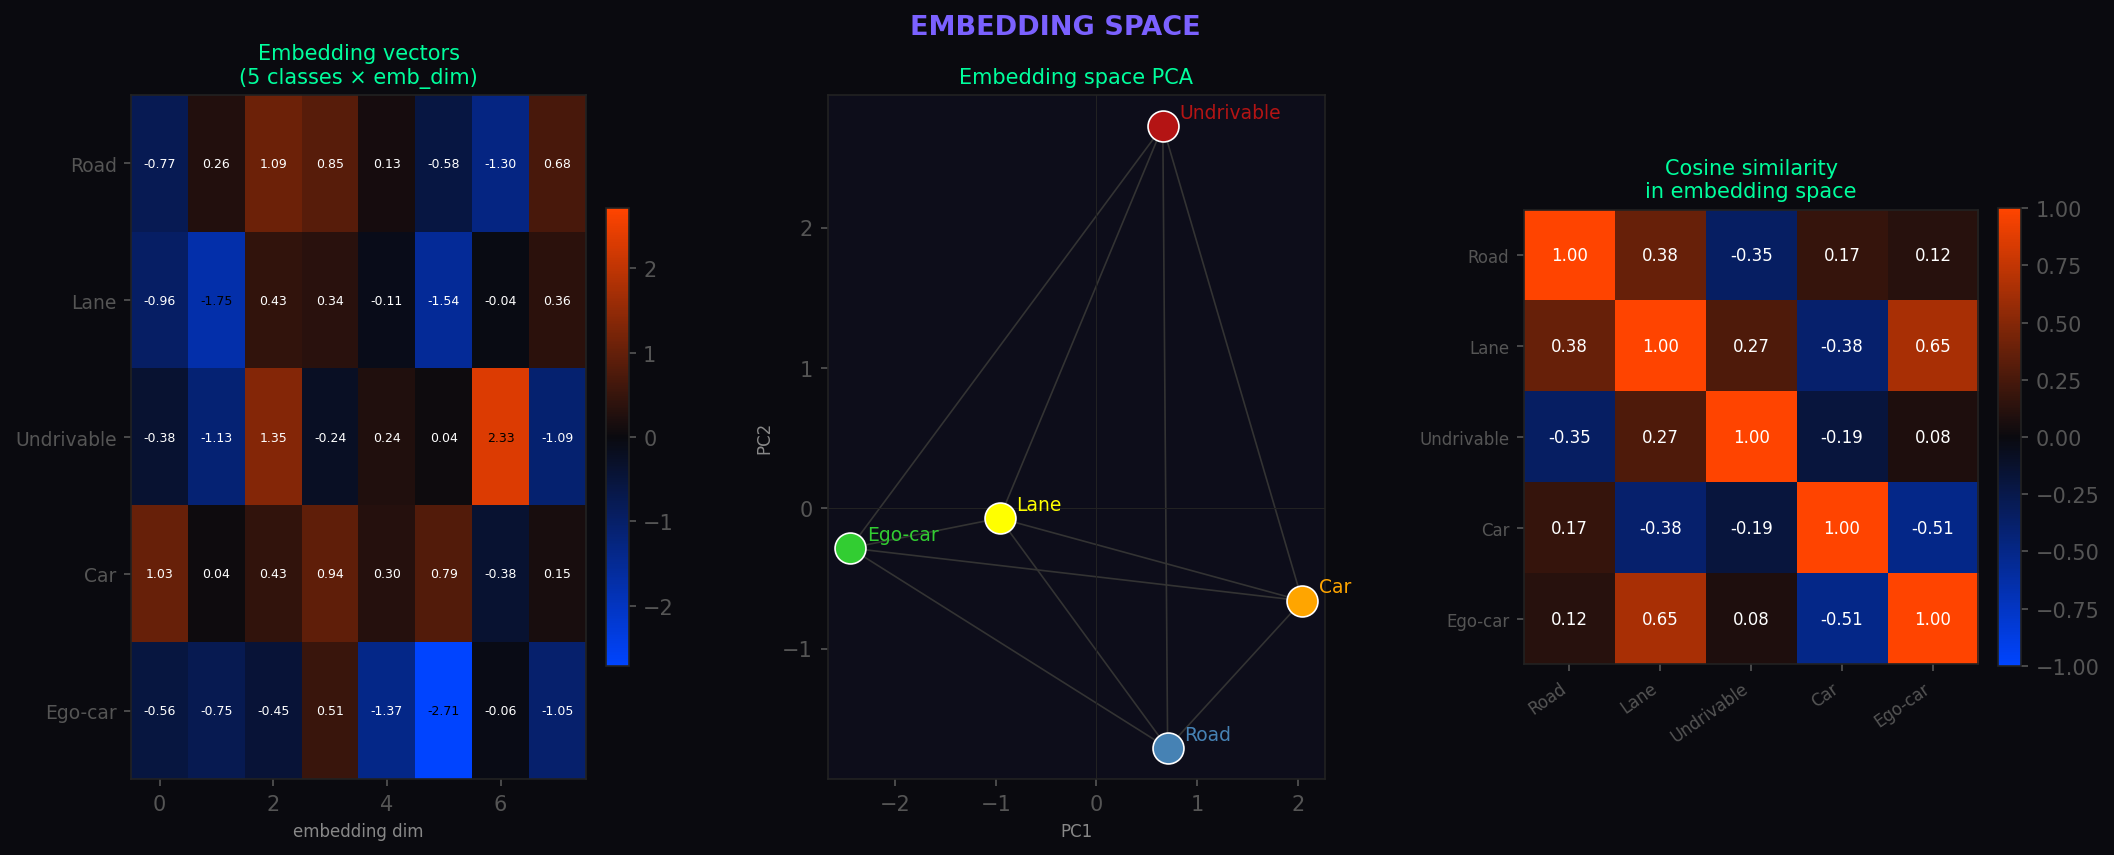
- MaskEncoder: This part takes the segmentation mask and turns it into abstract feature maps. I used embedding layers so the model can learn that things like "road" and "lanes" are semantically related.
- MLP: A tiny network that processes the movement vectors (poses) and tells the generator how to "shift" the visuals based on the car's motion.
- FrameHead: The final stage that puts everything together and outputs the video in 6-channel YUV format.
Optimization Tricks
To keep the model size tiny while maintaining quality, I used several "cheap" neural tricks:
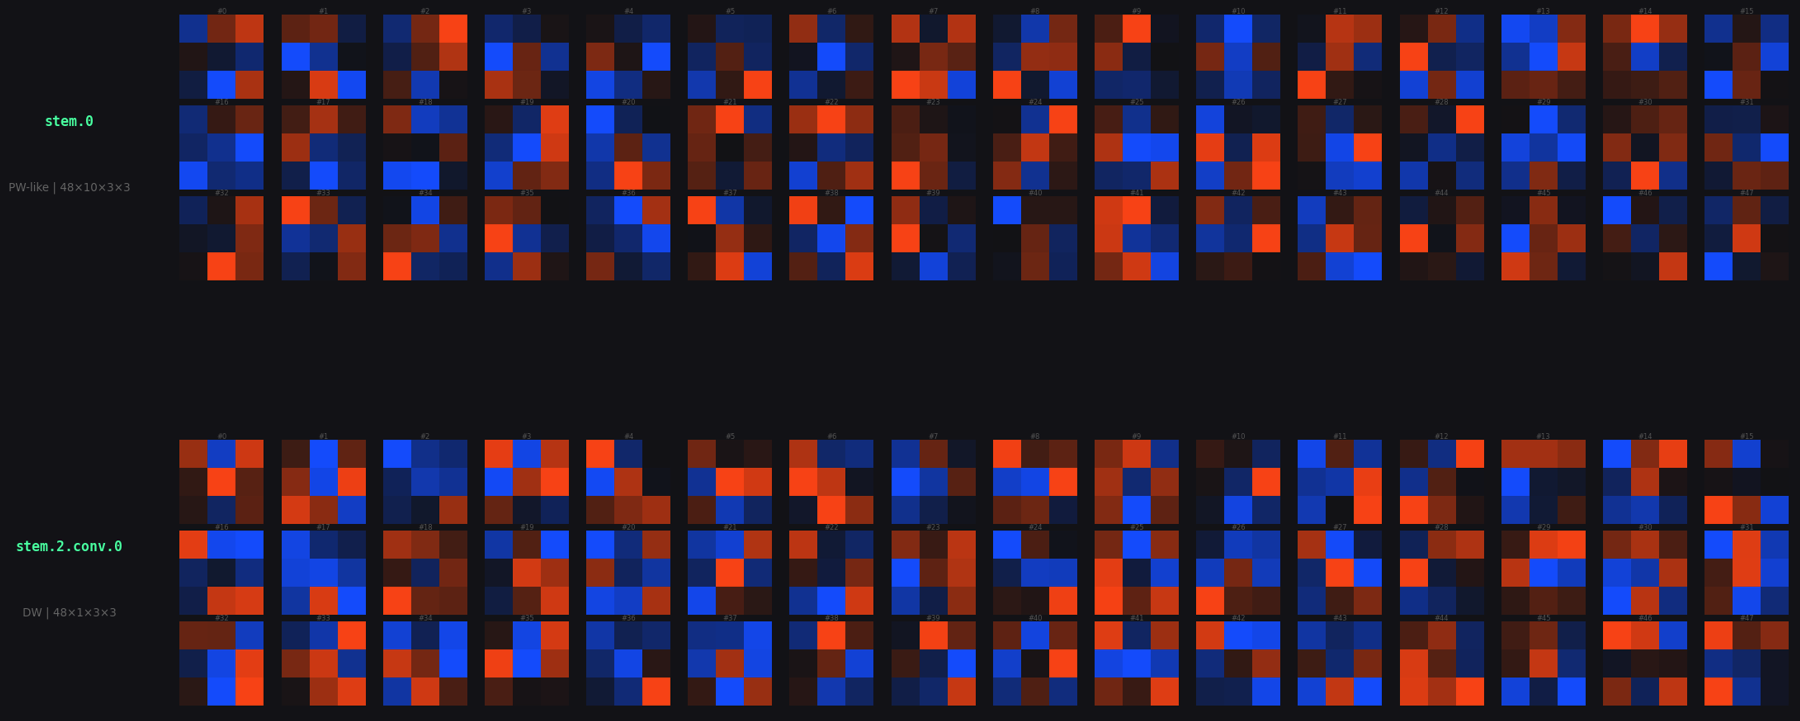
- Separable Convolutions: Instead of standard convolutions, I used depth-wise separable ones. They do almost the same job but with about 10x fewer parameters.
- Attention Mechanisms: I added Squeeze-Excitation and Pixel Attention blocks. These help the model focus on what is important (like road edges) and ignore the noise.
- Quantization: I saved the model weights as 8-bit integers instead of 32-bit floats. This significantly cut down the file size without hurting the performance too much. In future work, I would use Quantization Aware Training to make the model more robust to the precision reduction in int8 quantizatin.
In the end, while the video looks a bit like a neon game from the 80s, it was highly effective for the challenge. I managed to get score of 0.72 and secure 9th place out of 30 participants at the time of my submission, which I'm pretty happy with!